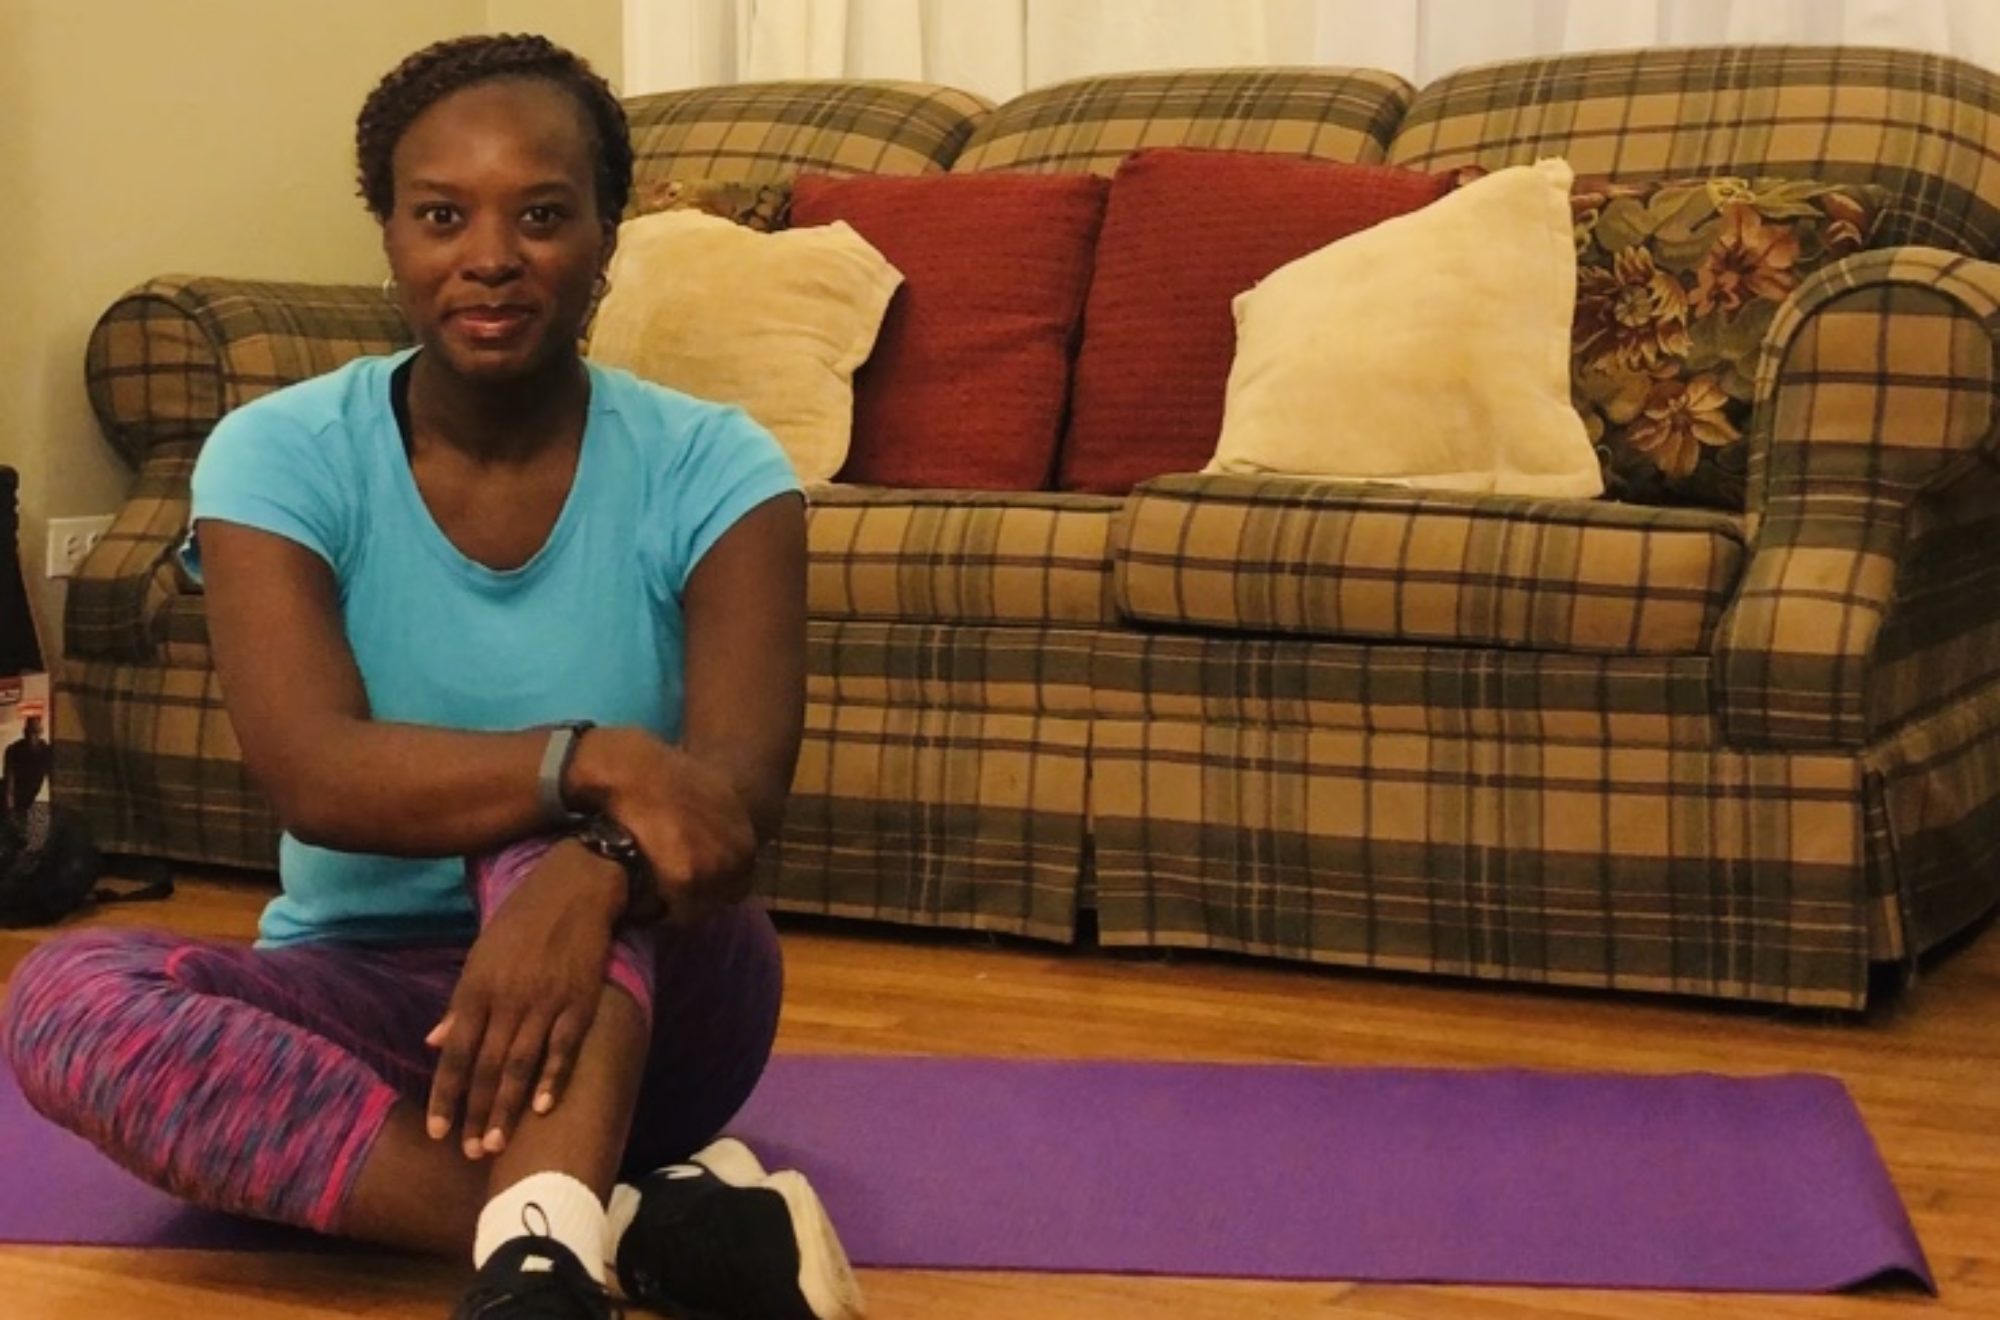
4 Ways to Stay Grounded During Tough Times

Today’s post is a little different than usual. You haven’t seen me in a while because things have been tough lately, and I just haven’t had much motivation. Though things have gotten a bit better for me personally, the whole world is in a weird state of chaos mixed with uncertainty.

Instead of talking about physical health, I wanted to talk about mental health. I’m not an expert in this field. I just want to share what’s been working for me lately.

#1: Keep Moving

Schools, fitness facilities, churches and some places of business are shutting down indefinitely. We’re being told to self-quarantine or practice social distancing to slow the spread of the virus. However, that doesn’t mean that we stay in our home and do nothing.

Exercise is one of the best ways to relieve stress. Instead of staying glued to the TV for the latest news update, get your sweat on! Pause your streaming service for an hour or to go for a long walk or hop on YouTube and follow a workout video.

#2: Maintain a Schedule

We’re creatures of habit. Most of us wake up at the same time every day. Then we go through an almost identical morning routine because we have to be at work at the same time every day. But what do you when your business shuts down indefinitely and you have nowhere to go each day? You create another schedule

Most folks have things they’ve been meaning to get around to. We even have projects that we’ve been putting off until we have more time. This is the perfect opportunity to work on those things by creating a schedule.

If you work an eight-hour shift, I’m not suggesting that you create a schedule for every minute of your workday. However, I would suggest that you keep your same morning routine so that when work resumes, you’re good to go. Beyond that, you should schedule some things you need to do, some things you’ve been putting off and some fun things, too.

#3: Keep in Touch

This is one is especially for introverted single folk, like me, who live alone. However, it applies to others, as well. This is prime real estate for us. We have a legitimate reason to pull inside of ourselves and cut off all contact with the rest of the world. Let’s not do that.

One of the best ways to stay grounded is to connect with other people. While we may not be able to meet up with people face-to-face, we can FaceTime, Skype, host Zoom meetings and do Google hangouts. Check on the folks you love and let them know you’re okay.

#4: Go Offline

Turn off the TV. Go on Facebook fast. Stay off YouTube. Things are already bad enough. Just take one day – a full 24 hours – with no media or technology. You might be surprised how grounded you feel…and how much time you have.

This Too Shall Pass

Things won’t always be this way! They’ll get better! I promise.


Hopping on the Scale! Don’t forget to hop on the scale and see where you are this week. Remember: if you were able to maintain and not gain, that’s still a win!


Follow Get Fit with Charity on FacebookPinterest and Instagram!

8 Low-Impact Exercises

As I said in a previous post, “Every exercise is not for every body!”

There are TONS of reasons why some people are unable to do a variety of high-impact exercises that are known to result in a high-calorie burn and significant weight loss. Sometimes they are recovering from an injury. Maybe they’re just starting their fitness journey.

Rest assured, you can still get a good workout by doing low-impact exercises.

This video is actually first in a five-part series, so let’s get to those exercises. The asterisk (*) in the options indicates the option featured in the video.

Upper Body Exercises

Speed Bag

  • Stand tall will both arms raised overhead and up to the side
  • Keep abs engaged (stomach muscles pulled in tight)
  • Rotate your arms wrist over wrist toward the ceiling
  • Switch sides
  • Options:
    • Stand still*
    • Squat
    • Shuffle

Back Fat Blaster

  • Stand tall with arms up in the air like football goalposts
  • Slowly lower elbows toward ribs while adding resistance by squeezing muscles in the upper back
  • Return to starting position
  • Options:
    • Stand still*
    • Squat
    • Jump Squat

Core Exercises

Torso Twist

  • Stand with knees slightly bent and feet hip-width apart
  • Point elbows to the floor
  • Keep abs engages
  • Rotate from side to side
  • Options:
    • Stand still*
    • Squat
    • Squat and add knee lift on every third twist

Side Cruncher

  • Stand tall with feet hip-width apart
  • Lift right arm overhead to the left
  • Pull arm down while actively engaged the right obliques (side core muscles)
  • Repeat desired number of reps
  • Switch sides
  • Options:
    • Keep both feet on the floor*
    • Lift right leg while crunching on right side

Lower Body Exercises

One-Legged Jumping Jacks

  • Stand with feet hip-width apart and arms at your sides
  • Step out to the side with one leg while raising arms up in the air
  • Step leg back to starting position while lowering arms back to sides
  • Options:
    • Lift arms only as high as your shoulders
    • Lift arms all the way up as if doing jumping jacks*
    • Kick legs out to the sides

Side Leg Lift

  • Stand with feet together and hands on hips
  • Lift one leg out to the side
  • Return to starting position
  • Options:
    • Hold onto a chair for balance
    • Lift leg in air and return foot to floor
    • Lift leg in the air and lower foot without letting it touch the floor

Rear Leg Lift

  • Stand with feet together and hands on hips
  • Lift one leg to the back
  • Return to starting position
  • Options:
    • Hold onto a chair for balance
    • Lift leg in air and return foot to floor
    • Lift leg in the air and lower foot without letting it touch the floor

Chair Squats

  • Place chair directly behind you
  • Perform squatting motion
  • Return to standing position when you feel the chair on your legs

The Next Steps

In the coming weeks, I will post four different Tabata style workouts based on these exercises.

Follow Get Fit with Charity on FacebookPinterest and Instagram!

3 Reasons to Do Low-Impact Exercises

There aren’t too many fitness professionals out there advocating low-impact exercises. In the age of cross-fit and HIIT, some think that the more intense the work out the better. I don’t believe that. In fact, I encourage people to engage in low-impact exercises.

What are low-impact exercises?

Low-impact exercises include any form of physical activity that has a “low-impact” on your joints. Exercises like walking, bike riding, swimming, and yoga. It’s even possible to convert a number of high-impact exercises, like jumping jacks, to low-impact exercises.

There are four distinct reasons people may want (or need) to consider low-impact exercises.

Reason #1: Change Things Up

The human body is completely adaptable. Your workout starts to seem ineffective if you always to do the same thing. However, incorporating some low-impact moves can help get things going again.

Reason #2: Increase Intensity and Preserve Your Joints

Some people are convinced that you can’t get a good workout with low-impact exercises. That’s not true. In reality, you can have super intense low-impact workouts that produce more sweat than some high-impact workouts. How? If your high impact workout, requires a great deal of jumping, you can only jump for so long. Your knees and ankles will eventually need a break from all the pressures. However, switching to a low impact form of the same exercises will enable to have longer more intense sessions because your joints won’t suffer.

Reason #3: Build Strength and Endurance

If you’re just starting out on your fitness journey, you might not be in the best shape right now. You may even have a significant amount of weight to lose right now. The idea of doing plank jacks, burpees and high knees probably sounds a bit intimidating or even painful. Starting out with low-impact exercises allows you to gain strength and see just how far you can grow in your fitness. When you’re ready, you can switch out some low-impact exercises with their high-impact counterpart and see how you feel.

Reason #4: Injury Recovery or Limited Mobility

Every exercise isn’t for every body. In other words, we all have physical limitations. There are things some people simply can’t do as a result of limited mobility and former injury. Someone who blew out their knee playing college football, might not be able to perform jump squats. The person who had shoulder surgery won’t be able to do push-ups or planks. Even so, there are low-impact versions of exercises individuals can do that will help them reach their fitness goals.


Hopping on the Scale! Don’t forget to hop on the scale and see where you are this week. Remember: if you were able to maintain and not gain, that’s still a win!


Follow Get Fit with Charity on FacebookPinterest and Instagram!

6-Minute Gliding Disc Workout #4

This is the final video of a five-part series. However, it is the fourth Tabata style workout that features two Gliding Disk exercises: plank push-ups and the inchworm.

One round of Tabata is actually four minutes long. By adding a short warm-up and a quick cool down, we get a six-minute workout that will jump-start your metabolism… especially if you do this workout first thing in the morning.

Plank Push-up

  • Start in a straight arm plank position with weight evenly distributed
  • Keep gliding disks under your hands
  • Slide right hand out to the side while performing the down phase of a push-up
  • Slide right hand back to the center while performing the up phase of a push-up
  • Return to starting position
  • Options:
    • Stay on one side to complete continuous reps
    • Alternate arms*
    • Rest on knees instead of remaining on your feet *

Inchworm

  • Start in a straight arm plank position with weight evenly distributed
  • Keep gliding disks under your feet
  • Keep your legs straight and slide your feet as close to your hands as possible
  • Walk your hands out to the starting position
  • Repeat
  • Options:
    • Slide legs forward and slide legs back*
    • Walk hands toward feet and slide legs back
    • Slide legs forward and walk hands out

Next Week…

I’ll start a brand new series!

Follow Get Fit with Charity on FacebookPinterest and Instagram!

Benefits of Bodyweight Training

As you may know, I’m a huge fan of Body Weight Training! I know that I said that before, and I’m sure that I’ll say it again. Here are 3 incredible benefits of bodyweight training.

#1: Affordability

Bodyweight training is extremely affordable! Why? You always carry everything you need for every workout. There’s no need to invest in a home gym. You won’t need any weights or fancy equipment. All you need…is you!

#2: Accessibility

You can workout any time and anywhere! You can perform bodyweight exercises at your desk, in your living room, in a hotel room or in your back yard. Instead of waiting for the gym to open, you can work out first thing in the morning!

#3: Adaptability

When you’re performing bodyweight exercises, you’re not stuck. You don’t have to do a particular exercise a certain way. There are tons of options for nearly every type of bodyweight exercises. Take jumping jacks, for instance. If you have mobility issues or prefer low-impact exercises, you can do one-legged jumping jacks. On the other hand, if you want to up the intensity, you can alternate jumping jacks with stars jumps.

Summing it all up…

There are far more than three benefits of bodyweight training. However, I wanted to showcase the three benefits that are most applicable for getting fit at home.


Hopping on the Scale! Don’t forget to hop on the scale and see where you are this week. Remember: if you were able to maintain and not gain, that’s still a win!


Follow Get Fit with Charity on FacebookPinterest and Instagram!

6-Minute Gliding Disc Workout #3

This is the fourth video is a five-part series. However, it is the third Tabata style workout that features two Gliding Disk exercises: mountain climbers and up/down planks

One round of Tabata is actually four minutes long By adding a short warm-up and a quick cool down, we get a six-minute workout that will jumpstart your metabolism…especially if you do this workout first thing in the morning.

This is a tough workout, folks! But it’s totally worth it.

Featured Exercises

Mountain Climbers

  • Start in a straight arm plank position with weight evenly distributed
  • Keep gliding disks under your feet
  • Bend your knees and slide them toward your chest and back one at a time
  • Options:
    • Slide knees to the center toward the chest one at a time*
    • Slide R knee to L elbow then L knee to R elbow

Up/Down Plank

  • Start in a straight arm plank position with weight evenly distributed
  • Keep gliding disks under your feet
  • Bend right arm and left arm to lower into elbow plank
  • Straighten arms to return to straight arm plank
  • Options:
    • Start in elbow plank and transition to straight arm plank
    • Start in straight arm plank and transition to elbow plank*
    • Perform a push-up while in straight arm plank, then transition to elbow plank

Next Week…

I’ll feature that last two gliding disk exercises in the last six-minute workout of this series.

Follow Get Fit with Charity on FacebookPinterest and Instagram!

6-Minute Gliding Disk Work Out #2

This video is actually the third of a five-part series. However, it is my second 6-minute gliding disc workout. It is a Tabata style workout that features 2 Gliding Disk Exercises: knee tucks and slide crunch.

One round of Tabata is four minutes long. By adding a short warm-up and a quick cool down, we get a six-minute workout that will jumpstart your metabolism today…especially if you do the workout first thing in the morning.

Featured Exercises

Knee Tucks

  • Start in a straight arm plank position with weight evenly distributed
  • Keep gliding disks under your feet
  • Bend both knees simultaneously and slide them toward your chest
  • Return to starting position
  • Options:
    • Slide knees to the center toward the chest*
    • Alternate knees to right elbow then left after returning to starting position
    • Slide knees to the right-start, center-start, left-start, center-start, and repeat
Mermaid pose.

Sliding Side Crunch

  • Sit in a “mermaid” pose with right leg in front
  • Extend right arm to the floor with a gliding disk under your hand
  • Slide to the right, maintaining your balance
  • Return to starting position
  • Switch to the left side

Next Week

I’ll feature two more gliding disk exercises in another six-minute workout.

Follow Get Fit with Charity on FacebookPinterest and Instagram!

6-Minute Gliding Disk Work Out #1

This video is actually the second of a five-part series. However, it is my first 6-minute gliding disc workout. It is a Tabata style workout that features 2 Gliding Disk Exercises: Wax On/Wax Off and Gliding Jacks.

One round of Tabata is four minutes long. By adding a short warm-up and a quick cool down, we get a six-minute workout that will jumpstart your metabolism today…especially if you do the workout first thing in the morning.

This is a tough workout, but it’s a quick one.

Featured Exercises

Wax On/Wax Off

  • Start in a straight arm plank position with weight evenly distributed
  • Keep gliding disks under your hands
  • Transfer weight to left hand and both feet
  • Draw a circle on the floor with the right hand
  • Return to starting position
  • Options:
    • Stay on one side to complete continuous reps
    • Alternate arms*
    • Rest on knees instead of remaining on your feet

Gliding Jacks

  • Start in a straight arm plank position with weight evenly distributed
  • Keep gliding disks under your feet
  • Slide right hand out to the side
  • Slide right hand back to the starting position
  • Options:
    • Stay on one side to complete continuous reps
    • Alternate legs
    • Move both legs out and in at the same time*

Next Week

I’ll feature two more gliding disk exercises in another six-minute workout.

Follow Get Fit with Charity on FacebookPinterest and Instagram!

Eight Gliding Disk Exercises

Eight Gliding Disk Exercises

In my last video, which was posted AGES ago, I told you about the five things you absolutely must-have in your home gym…which is simply the place where you get fit at home. Today I’m going to talk about 8 gliding disk exercises that you can do at home.

There are two upper body exercises, three lower body exercises, and three core exercises. Even though we’re will target specific body regions, so to speak, you will be able to feel all of these exercises in your core. For that reason, it is very important for you to keep your core engage while you are performing these. In order words, suck in your gut like you’re trying to get your belly button to meet your spine.

This video is actually first in a five-part series, so let’s get to those exercises. The asterisk (*) in the options indicates the option featured in the video.

Upper Body Exercises

Wax On/Wax Off

  • Start in a straight arm plank position with weight evenly distributed
  • Keep gliding disks under your hands
  • Transfer weight to left hand and both feet
  • Draw a circle on the floor with the right hand
  • Return to starting position
  • Options:
    • Stay on one side to complete continuous reps
    • Alternate arms*
    • Rest on knees instead of remaining on your feet

Plank Push-up

  • Start in a straight arm plank position with weight evenly distributed
  • Keep gliding disks under your hands
  • Slide right hand out to the side while performing the down phase of a push-up
  • Slide right hand back to the center while performing the up phase of a push-up
  • Return to starting position
  • Options:
    • Stay on one side to complete continuous reps
    • Alternate arms*
    • Rest on knees instead of remaining on your feet

Lower Body Exercises

Gliding Jacks

  • Start in a straight arm plank position with weight evenly distributed
  • Keep gliding disks under your feet
  • Slide right hand out to the side
  • Slide right hand back to the starting position
  • Options:
    • Stay on one side to complete continuous reps
    • Alternate legs
    • Move both legs out and in at the same time*

Knee Tucks

  • Start in a straight arm plank position with weight evenly distributed
  • Keep gliding disks under your feet
  • Bend both knees simultaneously and slide them toward your chest
  • Return to starting position
  • Options:
    • Slide knees to the center toward the chest*
    • Alternate knees to right elbow then left after returning to starting position
    • Slide knees to the right-start, center-start, left-start, center-start, and repeat

Mountain Climbers

  • Start in a straight arm plank position with weight evenly distributed
  • Keep gliding disks under your feet
  • Bend your knees and slide them toward your chest and back one at a time
  • Options:
    • Slide knees to the center toward the chest one at a time*
    • Slide R knee to L elbow then L knee to R elbow

Core Exercises

Up/Down Plank

  • Start in a straight arm plank position with weight evenly distributed
  • Keep gliding disks under your feet
  • Bend right arm and left arm to lower into elbow plank
  • Straighten arms to return to straight arm plank
  • Options:
    • Start in elbow plank and transition to straight arm plank
    • Start in straight arm plank and transition to elbow plank*
    • Perform a push-up while in straight arm plank, then transition to elbow plank

Inchworm

  • Start in a straight arm plank position with weight evenly distributed
  • Keep gliding disks under your feet
  • Keep your legs straight and slide your feet as close to your hands as possible
  • Walk your hands out to the starting position
  • Repeat
  • Options:
    • Slide legs forward and slide legs back
    • Walk hands toward feet and slide legs back
    • Slide legs forward and walk hands out*

Sliding Side Crunch

  • Sit in a “mermaid” pose with right leg in front
  • Extend right arm to the floor with a gliding disk under your hand
  • Slide to the right, maintaining your balance
  • Return to starting position
  • Switch to the left side

The Next Steps

In the coming weeks, I will post four different Tabata style workouts based on these exercises.

Follow Get Fit with Charity on FacebookPinterest and Instagram!

Meal Prep vs Meal Planning

Meal prep vs Meal planning. What in the world do either of them have to do with getting fit?!?!?

In a word: everything!

Eating properly is crucial if we intend to be successful in our fitness journeys. But eating properly is time-consuming.  Despite that fact, we still do our best to eat healthily. We head to the grocery store and buy fresh fruits and vegetables, lean meats, and whole grains. But we still don’t eat differently. Why? Because either there’s no plan or we didn’t prepare anything.

Incorporating meal planning and meal prep into your daily schedule will allow you to revolutionize your eating habits. But a lot of people tend to ask, “Which one should I do? What’s right for me: Meal Planning or Meal Prep? What’s the difference?”

We’ll tackle all of that today.

What is Meal Planning?

Meal planning is simply planning what you’re going to eat during a specific amount of time. This could be done for a family or an individual. 

The benefits of meal planning are that it decreases the chances of overeating because you can log your meals into your calorie count as you plan them so that you know precisely where are you are on a given day. 

The drawback is that some people think it is too restrictive, but it’s not. Nothing is set in stone. As long as you switch foods with similar calorie counts you’ll be perfectly fine. Especially if you maintain the nutritional content. 

What is Meal Prep?

Meal prep is simply preparing your meals in advance. It could occur in different forms. 

  • You could actually take one day a week as a single person to cook large meals. Then place those meals in food storage containers. You’ll have lunch and dinner prepared for the remainder of the week. 
  • You could prep ingredients for different meals. Suppose you want to eat a fresh veggie salad for dinner every day. However, you have no interest in chopping up vegetables before work each morning. You could take one day to chop all of your vegetables. Then place them in individual airtight containers in the fridge. When it’s time for you to assemble the salad, just take out those containers. 
  • You could take some time on Sunday afternoon to assemble a week’s worth of breakfast and lunch for the members of your household. Simply make sure that everything is clearly labeled so picky eaters and folks with food sensitivities don’t get the wrong lunch.

The benefits are that it saves a great deal of time. Plus it helps you maintain proper eating habits by allowing you to control your portions. 

A major drawback is that it can be very time-consuming.

Which Works Best?

Here’s where we tackle the question of Meal prep vs Meal planning.

There are those who think meal planning is the way to go. They’re the type of people who feel that a solid plan is all they need to be successful.

Other all but swear by meal prep. They consider it a lifesaver and feel that they lead much more productive lives because of it. 

I firmly believe that meal prep and meal planning work best in concert with one another. Both are essential for your fitness journey. In fact, they are opposite sides of the same coin. Ideally, one would plan the meals and snacks prior to preparing those meals and snacks.

Prepping meals without planning when those meals will be consumed results in a lot of wasted food. You know what you’re going to eat, but you just don’t know when. As a result, you forget the food is in the fridge, and it just ends up getting tossed. 

Planning meals without prepping means you’ll be spending a whole lot of time in the kitchen. That may be okay for some folks, but I don’t have that kind of time.

Next Steps

If this is new to you, it might be a little intimidating. The idea of sitting down and organizing what are you going to eat and when you’re going to eat it can be very overwhelming, but that’s why I’m here. I have created some amazing free resources to help you get this all figured. I’ll walk you through that next week!


Hopping on the Scale! 

Don’t forget to hop on the scale and see where you are this week. Remember: if you were able to maintain and not gain, that’s still a win!


Follow Get Fit with Charity on FacebookPinterest and Instagram!