A few weeks ago, we talked about 20 Core Exercises that didn’t include traditional crunches or sit-ups. This week we’ll be doing Core Workout #2, the second 6-minute workouts focused on the core.
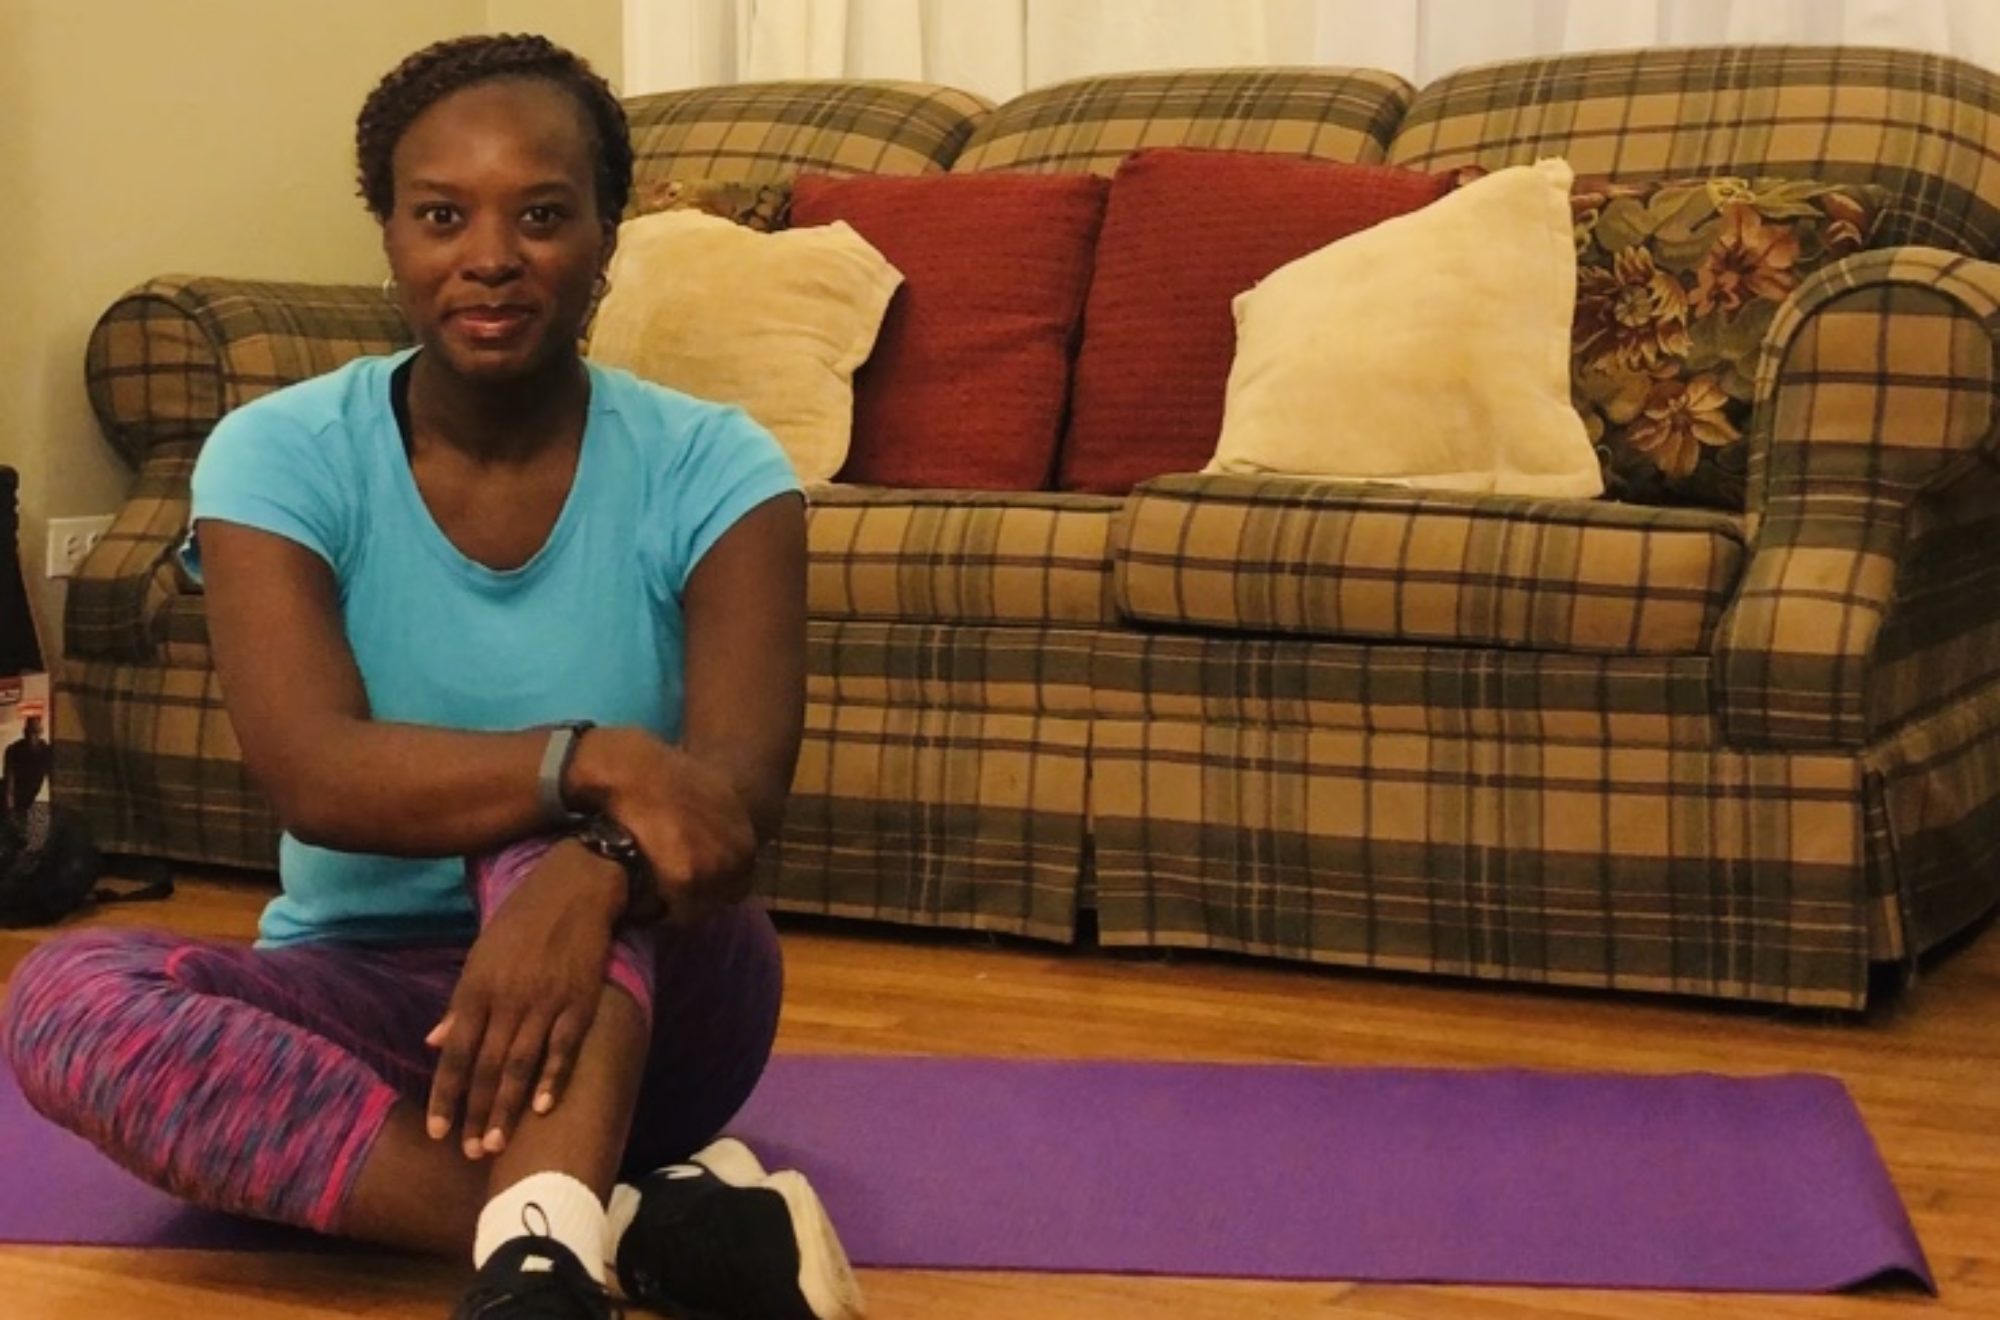
As you know, my goal is to show you how to get fit at home, so I post workout videos from the comfort of my own home. These videos are not perfect by any means, and I’m okay with that. Most of the time I record them early in the morning to kick start my day. They are real-life workouts.
This is a Tabata style workout that features 2 Core Exercises: Vertical Scissors and Vertical Toe Touches. One round of Tabata is four minutes long. By adding a short warm-up and a quick cool down, we get a six-minute workout. That will jumpstart your metabolism today…especially if you do the workout first thing in the morning, like I do. The descriptions for each exercise are listed below.
Clock Abs
Prop up on elbows with floor
Hold legs at 45-degree angle
Circle legs CW twenty seconds, like you’re drawing a circle on the wall with your toes
Heel Touches
Lie on back w/ legs bent in chair position and arms straight in the air
Reach to the right side and touch right hand to right heel, then alternate to other side
Keep shoulders in contact with the floor at all times
Even if you don’t touch your heels, you should still get a good side crunch.
The Next Steps
Next week, I will feature two more exercises in another workout. The workout will be approximately 6 minutes long.
This time of pandemic has greatly impacted how we do life. By now, many of us have adjusted to working from home. Or we work an essential position with a variety of different adjustments and new restrictions. But what about the kids, though. They’re missing out on recess, physical education, and youth sports. This week, I simply want to share a few fun family fitness ideas.
What is Family Fitness?
Family fitness isn’t all that different from personal fitness. Personal fitness is simply a person making the decision to get fit. Family fitness is nothing more than a family making the decision to get fit together. They could hire a personal trainer and have group sessions. It’s possible that they could attend the same fitness classes. However, the following options may be more appropriate for younger children. And they are definitely more applicable to our current situation
Play Tag
Most kids LOVE playing tag, but not the way you remember. When I was a kid, tag was simple. Someone was “IT”, and everybody else ran away from that person. If you made it to “base”, you were safe. If you got tagged, you were “IT”.
You don’t have to worry about coming up with new tag games on your own, though. Your children can probably teach you variations from recess our their PE classes. If not, check out these 10 Fun Tag Games for Kids.
Create Your Own Olympic Games
For the first time in history, the summer Olympic Games will be postponed, but your family can host your own version of the international sporting event. Simply pick categories like running, tossing, or jumping. Then create events that you can do around the house using minimal equipment. For example, you could have a paper towel toss or do rolled sock golf.
Don’t forget to include a scoring system and medals.
Geat a Daily Dose of Fresh Air
Maybe your family just isn’t into physical activity. The idea of running around playing tag or going all Olympian just doesn’t appeal to you…at all. You can still promote family fitness by making a commitment to getting some fresh air every day.
You could by walking five minutes away from the house before turning around and walking five minutes back. It might be surprising how accomplished you’ll feel. Who knows? You may even want to extend that walk the next time.
Keep It Moving
If these fun family fitness ideas work well for you, let me know. If you come up with your own fitness ideas, I’d like to know that, too. It doesn’t really matter what you do to keep your family fit. Just get out there and get moving!
Hopping on the Scale! Don’t forget to hop on the scale and see where you are this week. Remember: if you were able to maintain and not gain, that’s still a win!
Last week, we talked about 20 Core Exercises that didn’t include traditional crunches or sit-ups. This week we’ll be doing Core Workout #1, the first of many 6 minute workouts.
As you know, my goal is to show you how to get fit at home, so I post workout videos from the comfort of my own home. These videos are not perfect by any means, and I’m okay with that. Most of the time I record them early in the morning to kick start my day. They are real-life workouts.
This is a Tabata style workout that features 2 Core Exercises: Vertical Scissors and Vertical Toe Touches. One round of Tabata is four minutes long. By adding a short warm-up and a quick cool down, we get a six-minute workout. That will jumpstart your metabolism today…especially if you do the workout first thing in the morning, like I do. The descriptions for each exercise are listed below.
Vertical Scissors
Start with hands under butt and legs straight
Lift legs to 45-degree angle
Then alternate legs between 45-degrees and 75-degrees
Vertical Toe Touches
Lie on floor with hands at sides
Start with legs straight up in the air
With legs straight in the air, lift shoulders off floor and try to touch toes with hands
Options:
Both arms at the same time*
Reach R arm to R foot, then switch
Reach R arm to L foot, then switch
The Next Steps
In the coming weeks, I will transform these 20 core exercises into a series of Tabata workouts. Each workout will be 6 minutes long and feature two exercises.
Years ago, I dreamed of working from home. I desired to be in charge of my own schedule and make a living doing only what I wanted to do. Since we’ve been “on lockdown” the past few weeks, my dream has come true; it just doesn’t look the way I thought it would. Beyond that, there’s one aspect of working from home that I’d never really considered until now: naps. I’ve realized that are significant pros and cons of naps that you might be interested in learning.
The Negatives of Naps (aka The Cons)
Let’s start with the bad news. There are definitely a few cons that should be mentioned before you settle in for your nap today.
Con #1: Inability to Sleep at Night
Last week, we discussed How to Avoid the Quarantine 15 last week. The first two things we talked about were getting enough sleep but not getting too much sleep. We normally take naps when we’re tired. But super long naps or naps that are too late in the day, aren’t good. They keep us up at night.
Con #2: Grogginess
Naps are thought to help you catch up on some rest or give you a boost of energy. That’s not always the case, though. Sometimes after a nap, you feel groggy or cranky.
The same Texas A&M article also stated that long naps have the potential to increase our risk of death.
The Positives of Naps (aka The Pros)
There is a wealth of research on the benefits of napping. In fact, it was a little difficult to restrict myself to just five. Even so, I think I found the five pros that will bless your soul.
Pro #1: Resembles a Mini-Vacation
According to the National Sleep Foundation, “A nap can be a pleasant luxury, a mini-vacation. It can provide an easy way to get some relaxation and rejuvenation.” I couldn’t have said it better, so I let them take that one!
Pro #2: Boosts Energy (and Saves Money)
This one may seem like a stretch, but it’s not. A lot of people hit a slump sometimes after lunch. Our energy seems to have evaporated, but we need to stay awake. So we spring for a drink or snack that will give us the kick we need to make it through the day. A quick nap can actually boost your energy…allowing you to save a little cash each week.
Pro #3: Relieves Stress
The National Sleep Foundation said that we can lower tension by taking short naps. A variety of other sources indicate similar findings. In fact, one article said that even five minutes of rest has a positive impact on stress.
Pro #4: Improves Memory
Sleep experts say that sleeping at night helps make our memories stick, so we can bring them up in the future. Other research studies have shown that taking longer naps has the same effect on memory consolidation.
Pro #5: Improves Your Appearance
I’ll bet you’ve looked at a friend or co-worker and thought, “They need some sleep.”
We can tell when people aren’t well-rested. There are dark circles under their eyes. And they just look…tired. Napping can help out with that. Sleep restores and rejuvenates our bodies. So if you think you look tired, you might just need a nap.
Weighing the Pros and Cons of Nap
As you can see, there are some legit negatives against and some compelling positives for napping. There are additional pros and cons of naps that aren’t listed here. One expert says that naps are detrimental to your health, and another states that naps can help you lose weight. You will need to decide for yourself. If you notice that you don’t sleep well when you take naps, then avoid them. However, if naps help you feel energized and alert, keep doing what you do. The choice is yours alone.
Hopping on the Scale! Don’t forget to hop on the scale and see where you are this week. Remember: if you were able to maintain and not gain, that’s still a win!
Who doesn’t want firm abs these days?!?! But push-up and crunches are not what folks are looking for. So here are 20 Core Exercises that don’t include traditional crunches or sit ups.
1. Horizontal Scissors
Start with hands under butt and legs straight
Lift legs to 45-degree angle
Then have legs go out to the sides as if doing jumping jacks and cross in the middle
2. Vertical Scissors
Start with hands under butt and legs straight
Lift legs to 45-degree angle
Then alternate legs between 45-degrees and 75-degrees
3. Scissors w/ a Twist
Start with legs straight and upper body in C-curve
Perform horizontal scissors
Twist upper body in opposition
4. Flutter Kick
Lie on back with arms out to sides and toes off floor
Scissor kick legs making sure they are 3 to 4 inches off the floor
5. Bicycle Crunches
Lie on back with leg straight and hands behind head
Lift shoulders and legs off floor, keeping neck neutral
Bring R knee to chest, hold for a few seconds, then switch
Continue alternating
6. Leg Lifts
Start with hands under butt and legs straight
Lift legs to 45-degree angle
Then lower them within a few inches of the floor
Legs should not touch the floor when lowered
7. Reverse Crunches
Start with hands under butt and legs in upside down V
Lift knees toward the chest, lifting butt off floor
Keep shoulders and upper back “glued” to the floor
8. Clock Abs (*not featured in video)
Prop up on elbows with floor
Hold legs at 45-degree angle
Circle legs CW twenty seconds
Circle legs CCW during the next round
9. Single Leg Drop
Lie on the floor with hands under butt
Start with legs straight up in the air
Lower one leg until it is few inches off the ground
Return to starting position
Repeat with the other leg
Think of this as an exaggerated scissors exercise
Control your lower abs and do not allow gravity to take over
10. Vertical Toe Touches
Lie on floor with hands at sides
Start with legs straight up in the air
With legs straight in the air, lift shoulders off floor and try to touch toes with hands
Options:
Both arms at the same time
Reach R arm to R foot, then switch
Reach R arm to L foot, then switch
11. Pulse Ups
Lie on floor with hands under butt
Start with legs straight up in the air
Lift legs toward ceiling, lifting butt off floor
Imagine that you’re trying to place your footprints on the ceiling
12. Windshield Wipers
Lie on back w/ legs bent in chair position and arms to the sides
Keep knees tight together and move them to the right, the center and the left
Keep abs engaged and do not allow gravity to take over
Knees should not touch the floor
Keep shoulders in contact with the floor at all times
13. Dead Bug
Lie on back w/ legs bent in chair position and arms to the sides
Extend R leg while lowering L arm to the ground, then return to starting position.
Do the same with L leg and R arm
14. Heel Touches
Lie on back w/ legs bent in chair position and arms straight in the air
Reach to the right side and touch right hand to right heel, then alternate to other side
Keep shoulders in contact with the floor at all times
15. Bow
Lie on right side with arms and legs fully extended w/ body aligned
Lift and lower arms and legs to the ceiling simultaneously
Legs, shoulders and arms do not touch the floor
Switch sides
16. Seated Angled Bow
Balance on butt with knees together and heels off floor
Roll onto left butt cheek and bring heel to right side of body
Return to starting position and repeat to other side
(Make sure your feet are off the floor to get the maximum effect.)
17. V-Sit
Sit with back at a 45-degree angle, legs in broken V and hands out in front
Hold as long a possible
Options
Lift heels from floor
Lift legs in air at 45-degree angle
Move arms either out to sides, straight in air over head or in line with upper body
18. V-Sit w/ Alternating Knee Lift
Sit with back at a 45-degree angle, legs in broken V and hands out in front
Bring R knee to chest, return to floor, bring L knee to chest, return to floor, repeat
Upper body remains at 45-degree angle the entire time.
19. Russian Twist
Sit with back at a 45-degree angle, legs in broken V and hands together at chest
Twist torso making R elbow touch floor; return to center, twist to the left
Upper body remains at 45-degree angle the entire time.
20. Earthquake
Sit with back straight and legs and arm out in front
Lean back to 45-degree angle and hold for as long as possible, reset if necessary
The Next Steps
In the coming weeks, I will transform these 20 core exercises into a series of Tabata workouts.
I don’t know about you, but I’m starting to think that these shelter-in-place orders and work-from home options, may have a negative impact on my waistline. Everyone knows about the Freshman 15. Those extra pounds that a lot of people tend to gain during their first year at college. I recently saw someone joking about the “Quarantine 15” and had an idea! Why not write a quick guide about how to avoid the Quarantine 15.
I know that I’m not alone when I say that my schedule has drastically changed during the past month. Some of the changes have been good. Like not being constantly on the go, and saving money on gas and eating out as a result. Then there’s the added bonus of spending more quality time with family! I’m guessing you can probably relate to some of those. You may even have some positive changes that are a bit different than what I shared.
The Flipside
Of course, there’s always a flipside.It seems that for every positive there’s at least one – maybe even two negatives. Like I’m not able to burn extra calories by swimming twice a week or teaching multiple fitness classes. Or being in super close proximity to foods that were supposed to be my quarantine snacks for the next several weeks. How about spending the overwhelming majority of my work day sitting at a computer, when I used to be up and about all day? I’m sure that you have some that are even more frustrating than mine.
The point I’m trying to make is this: our current life is way different than it was six weeks ago. Most of us have become quite sedentary, yet we’re eating the same amount of food or perhaps more than we used to. (Confession: I made a two-layer cake a couple of weeks ago and ate the whole thing in less than a week without sharing it with anyone.)
No one knows how long, we’ll be living life this way, so it’s probably best for us to create some new habits now. What follows are 10 tips on how to avoid the Quarantine 15. Every tip may not work for everybody, but I hope you’re able to find something that works for you.
#1: Get Plenty of Sleep…
Studies have shown that there is a direct correlation between sleep deprivation and weight gain. During this season when most of us don’t have to be up at O’ Dark-thirty to get ready for work (or head to the gym before going to work), it’s really tempting to stay up much later than normal. However, since we’re creatures of habit, most of us still wake up at our formerly “normal time” even though we don’t have to.
Perhaps we should consider going to bed as close to our normal time as possible, just so we can still get enough sleep. According to the Sleep Needs article from HelpGuide.org, the average adult needs 7 to 9 hours of sleep each night. One way to help ensure that you get enough sleep is to turn off the alarm clock and let your body wake up when it’s rested.As long as you get in bed at a decent hour, you should be able to wake up refreshed with plenty of time to get ready for that 8:00 virtual team meeting!
#2: …But Don’t Get Too Much Sleep
Believe it or not, there are also studies that show direct links between too much sleep and weight gain. If you read that part from the previous section about adults needing up to 9 hours of sleep, you may be thinking, “That’s waaay too much sleep for me.” According to that same article, if you’re alert and energetic all day, then you’ve had plenty of sleep. However, Matt Valentine’s Goal Post article about “6 Signs You’re Getting Too Much Sleep”, let us know that fatigue is a major sign of sleeping too much. So if you wake up tired and are completely exhausted after nine hours of sleep, maybe you should try seven or eight hours next time.
#3: Create a New Routine
Do you know what I finally realized this week!?!? Since I don’t have to be up super early, I don’t need my alarm, my secondary alarm or my final warning alarm to make sure I’m up on time. So I turned them all off. In addition to that, it occurred to me that it’s both pointless and impossible to try and maintain my old daily routine. So I created a new one.
How does creating a new routine fight weight gain? There’s a huge chance that when you realized your old schedule just wasn’t possible anymore, you sat around and snacked all day like I did. However, when I created a routine things changed. I something to do at a specific time, and it helped give me a sense of accomplishment.
If you’re not into routines or schedules, try making a list of ten things you want to finish each day. You might be surprised how great you feel at the end of the day.
#4: Plan Your Meals – And Stick to the Plan
I realized quite a while ago that I have a very interesting relationship with food…I eat it all the time. In a way, it makes sense. I mean, I typically teach five super intense fitness classes each week. Plus after running up to four times a week and swimming twice, I burn a ton of calories, so I need to eat to replace what I’m using.However, I take my food to work with me, so when I’m done eating them, there’s nothing left.
The food game has changed since I now work where the food lives. I’ve really had to be intentional about what I’m eating and when I’m eating. Now more than ever, it’s really crucial to focus on meal planning and meal prep. But more than that, we need to self-control to ensure that we only eat what we’re supposed to eat at a given meal or snack time. This is one of the best ways to avoid the quarantine 15.
#5: Switch to Daily Weigh-Ins
I am a HUGE fan of weekly weigh-ins to make sure you’re on track with your fitness journey. A lot can happen in a week, so making sure you have a dedicated time to check the scale helps you see the changes you need to make the following week.
Now that so many of us are working from home, there’s a lot that has the potential to happen from a food consumption standpoint each day. For that reason, it may be worth it to step on the scale once a day for the next month or two.
The focus isn’t so much weight loss as it is maintenance. The goal is to keep it the same from day-to-day. I’ve found that knowing I’ll face the scale first thing in the morning causes me to have a really thoughtful conversation with myself when I head to the kitchen for something to eat. I ask myself things like, “Am I really hungry? Do I need this or do I just want it? Are there any healthier options for me right now? Is this going to make me tip the scale on the heavier side if I eat it?”
Don’t have a scale? You can still monitor your weight by using a tape measure, taking pics of yourself and trying on “real” clothes to make sure they still fit.
#6: Drink Plenty of Water
I’ve said this before, but the body doesn’t have a die hard way to let us know that we’re thirsty. Sometimes our mouths are dry or our throats are parched, so we drink a little water.But did you know that a growling stomach doesn’t always mean that your body needs food?
The next time you think you need something to eat in order to satisfy your hunger, slowly drink 8 to 12 ounces of water and wait about half an hour. If the hunger pangs go away, you were simply thirsty. If they persist, you really could use a healthy snack.
Experts say that we should drink half of our weight in water, so if you weigh 150 pounds, you should be drinking 75 oz of water each day. Drinking enough water does some amazing things for you. First off, it helps clear up your skin. Secondly, it actually energizes you! Finally, it helps release toxins and wastes in your body which positively affects your overall health and can assist in maintaining your weight. All o that will help you avoid the quarantine 15.
#7: Schedule Three Rounds of Physical Activity Each Day
One thing many of us have right now is an abundance of time. Even though we’re working from home and helping children finish out their school year at home, we still have a ton of time because there aren’t sports practices and games to get to; we can’t go to church anymore and every form of entertainment is shut down. We’re really tempted to sit in the house and watch TV or cruise social media after the work day/school day is complete. But all that sitting is not going to help us avoid the quarantine 15.
We have to get moving, and the easiest thing to do is plan three rounds of physical activity each day – making sure that each round is a minimum of 10 minutes. If you have a dog, you can walk your dog three times a day. If you have young children, you can play tag with them for ten minutes, ride bikes or just take a walk. Turn on some music and have a dance off. Just commit to get moving for ten minutes three times a day every day.
#8: Break a Sweat for 30 Continuous Minutes
Strongly consider changing one of those ten minutes sections from the previous section to a thirty-minute exercise session that’s going to raise your heart rate and make you sweat. Run, dance or ride a bike. Head over to my YouTube channel and do five of the six-minute workouts. Join one of my online Zumba classes (just comment on this post to let me know you’re interested). Or google someone else’s workout videos.
Just break a sweat for thirty minutes a day to fight off that quarantine 15.
#9: Limit the Amount of TV Time
I’ve already hinted at this a couple of times in this post, but sitting there watching TV all day isn’t going to help anyone avoid gaining weight at this time. Why? Most folks don’t workout while watching TV. (I know I typically don’t.) Plus most of us like to snack while we’re watching TV.
If you’re having trouble finding time for that thirty minute sweatfest I mentioned earlier. Turn off the TV, take a break between episodes of whatever show you’re binge watching and get your workout on.
OR you could alternate between squats, lunges, jumping jacks, and burpees while watching one of the episodes. That could be really fun!
#10: Switch Refined Sugars for Natural Sugars at least Twice a Week
Let’s face it! It’s going to be hard not to snack, so let’s do so wisely.
I have the worst sweet tooth in the world. I rarely buy sweets or make them because they’re gone almost as quickly as I make them. Remember the cookies I mentioned?
However, I’ve learned that my taste buds enjoy natural sugars, like fruit and honey, as much as it enjoys refined stuff. So I would challenge you to take a couple of days each week to avoid refined, processed sugar and only eat natural sugars…just go easy on the honey.
How’s It Going?
Now that you have 10 tips to help you avoid the quarantine 15, I want to know how’s it going. Click the pink banner below to join the Facebook group, and let us know which tip is your go to!
Hopping on the Scale! Don’t forget to hop on the scale and see where you are this week. Remember: if you were able to maintain and not gain, that’s still a win!
My goal is to show you how to get fit at home in six minutes, so I post workout videos from the comfort of my own home. These videos are not perfect, and I’m okay with that. This video is actually the fourth of a five-part series. Let’s just call this one 6-minute low-impact workout 4. However, it is my fourth and final 6-minute low-impact workout. It is a Tabata style workout that features 2 Low-Impact Exercises: Side Leg Lift and Chair Squats.
One round of Tabata is four minutes long. By adding a short warm-up and a quick cool down, we get a six-minute workout that will jumpstart your metabolism today…especially if you do the workout first thing in the morning.
Featured Exercises
Side Leg Lift
Stand with feet together and hands on hips
Lift one leg out to the side
Return to starting position
Options:
Hold onto a chair for balance*
Lift leg in air and return foot to floor
Lift leg in the air and lower foot without letting it touch the floor
Chair Squats
Place chair directly behind you
Perform squatting motion
Return to standing position when you feel the chair on your legs
Next Week
We’ll be starting a brand-new video series that focuses on the core. You can have a super-strong core without doing tons of sit-ups or crunches. Next week, you’ll see how
My goal is to show you how to get fit at home in six minutes, so I post workout videos from the comfort of my own home. These videos are not perfect, and I’m okay with that. This video is actually the fourth of a five-part series. Let’s just call this one 6-minute low-impact workout 3. However, it is my third 6-minute low-impact workout. It is a Tabata style workout that features 2 Low-Impact Exercises: Rear Leg Lift and One-Legged Jumping Jack.
One round of Tabata is four minutes long. By adding a short warm-up and a quick cool down, we get a six-minute workout that will jumpstart your metabolism today…especially if you do the workout first thing in the morning.
Featured Exercises
Rear Leg Lift
Stand with feet together and hands on hips
Lift one leg to the back
Return to starting position
Options:
Hold onto a chair for balance
Lift leg in air and return foot to floor
Lift leg in the air and lower foot without letting it touch the floor*
One-Legged Jumping Jack
Stand with feet hip-width apart and arms at your sides
Step out to the side with one leg while raising arms up in the air
Step leg back to starting position while lowering arms back to sides
Options:
Lift arms only as high as your shoulders*
Lift arms all the way up as if doing jumping jacks
Kick legs out to the sides
Next Week
There will be another 6-minute low-impact workout featuring different exercises. It will be the final workout video in this series.
My goal is to show you how to get fit at home in six minutes, so I post workout videos from the comfort of my own home. These videos are not perfect, and I’m okay with that. This video is actually the third of a five-part series. However, it is my second 6-minute low-impact workout. It is a Tabata style workout that features 2 Low-Impact Exercises: Torso Twist and Standing Side Crunch
One round of Tabata is four minutes long. By adding a short warm-up and a quick cool down, we get a six-minute workout that will jumpstart your metabolism today…especially if you do the workout first thing in the morning.
Featured Exercises
Torso Twist
Stand with knees slightly bent and feet hip-width apart
Point elbows to the floor
Keep abs engages
Rotate from side to side
Options:
Stand still
Squat
Squat and add knee lift on every third twist*
Standing Side Crunch
Stand tall with feet hip-width apart
Lift right arm overhead to the left
Pull arm down while actively engaged the right obliques (side core muscles)
Repeat desired number of reps
Switch sides
Options:
Keep both feet on the floor
Lift right leg while crunching on right side
Place one hand behind head and opposite hand toward floor*
Next Week
There will be another 6-minute low-impact workout featuring different exercises.
My goal is to show you how to get fit at home in six minutes, so I post workout videos from the comfort of my own home. These videos are not perfect, and I’m okay with that. This video is actually the second of a five-part series. However, it is my first 6-minute low-impact workout. It is a Tabata style workout that features 2 Low-Impact Exercises: Speed Bag and Back Fat Blaster.
One round of Tabata is four minutes long. By adding a short warm-up and a quick cool down, we get a six-minute workout that will jumpstart your metabolism today…especially if you do the workout first thing in the morning.
Featured Exercises
Speed Bag
Stand tall will both arms raised overhead and up to the side
Keep abs engaged (stomach muscles pulled in tight)
Rotate your arms wrist over wrist toward the ceiling
Switch sides
Options:
Stand still
Squat
Shuffle
Bounce *
BackFat Blaster
Stand tall with arms up in the air like football goalposts
Slowly lower elbows toward ribs while adding resistance by squeezing muscles in the upper back
Return to starting position
Options:
Stand still
Squat*
Jump Squat
Next Week
There will be another 6-minute low-impact workout featuring different exercises.