When Should You Workout: How to Figure It Out

A quick glance at the title might cause you to think, “Wait! We talked about this a couple of weeks ago.” But that’s not true. We talked out HOW you can find time for fitness. Today we’re tackling WHEN you should workout during the day.

Here are two quick ways to figure out when you should workout.

Check Your Schedule

Take some time to write down everything you do for three consecutive days. Although you don’t need a minute-by-minute account, it is crucial to t least jot down what you every hour on the hour. It’s typically best to choose at least one day of the weekend in this exercise.

Why am I telling you to recount 72 hours of your week? Most people are creatures of habit, doing the same thing day after day. Our weekends are similar, too. By jotting down precisely what your days look like, you will be able to find pockets of time that you didn’t realize existed.

You will be able to schedule your work out sessions during that time without disrupting anything else in your schedule!

Stay True to You

Some experts say that it’s best to exercise first thing in the morning because it jump-starts your metabolism. Others caution you against exercising in the evening because it may negatively impact your sleep. There are even those who advocate exercising in the middle of the workday to help boost productivity.

Regardless of what anyone says is the best time to get in a workout, you have to do what’s best for you.

If you’re not a morning person, don’t commit to a 5 am run. If you’re in bed by 8:30 every night, don’t plan to workout at 7:30 in the evening.

Putting it All Together

Though it seems alarmingly simple, looking closely at your existing schedule and staying true to yourself are the best ways to figure out when you should work out during the day. In some cases, you’ll exchange downtime for exercise. In other cases, you may replace watching TV with working out. In all cases, you’ll be on your way to a healthier lifestyle.

Don’t forget to hop on that scale today and see where you are. If you didn’t lose anything, but you maintained where you were last week…that’s a major win!

Follow Get Fit with Charity on Facebook, Pinterest and Instagram!
6-Minute Gliding Disk Work Out #2

This video is actually the third of a five-part series. However, it is my second 6-minute gliding disc workout. It is a Tabata style workout that features 2 Gliding Disk Exercises: knee tucks and slide crunch.

One round of Tabata is four minutes long. By adding a short warm-up and a quick cool down, we get a six-minute workout that will jumpstart your metabolism today…especially if you do the workout first thing in the morning.

Featured Exercises

Knee Tucks

  • Start in a straight arm plank position with weight evenly distributed
  • Keep gliding disks under your feet
  • Bend both knees simultaneously and slide them toward your chest
  • Return to starting position
  • Options:
    • Slide knees to the center toward the chest*
    • Alternate knees to right elbow then left after returning to starting position
    • Slide knees to the right-start, center-start, left-start, center-start, and repeat
Mermaid pose.

Sliding Side Crunch

  • Sit in a “mermaid” pose with right leg in front
  • Extend right arm to the floor with a gliding disk under your hand
  • Slide to the right, maintaining your balance
  • Return to starting position
  • Switch to the left side

Next Week

I’ll feature two more gliding disk exercises in another six-minute workout.

Follow Get Fit with Charity on Facebook, Pinterest and Instagram!

Creating an Exercise Regimen

4 Tips for Creating an Exercise Regimen

One of the most challenging things to do when starting your fitness journey is figuring out your exercise regimen, as in what are you supposed to do. You may know what you need to do, but you don’t have much experience in creating an exercise regimen.

The first month of 2020 is over in a little over a week! If you’re reading this post, that means you made a commitment to get fit this year.

Here are four quick tips for creating a manageable and realistic exercise regimen.

Tip #1: Be True to Yourself

This is super important. There are a ton of fitness trends out there. If you do a little research on the best or most effective types of exercise, you’ll find support for nearly everything.

Some will sing the praises of Zumba Fitness. There will be strong advocates for hitting the weight room. Others will say that CrossFit is what’s best. Then there’s the group that’s in favor of pounding pavement, and running for weight loss.

It may sound hard to believe, but all of them are right…for themselves. However, what works for them might not work for you.

To create an exercise regimen that you’ll stick with, it is super important for you to be true to yourself and your interests. If you despise running, avoid joining a program geared to race preparation. Don’t sign up for a dance fitness class if you hate dancing…even if all of your friends are begging you to join then.

Find out what you like to do and create your exercise regimen based on that.

Tip #2: Be Specific

It’s also crucial to know exactly what you want your outcome to be. In the words of Steve Covey, “Begin with the end in mind.” In other words, you need to know your outcomes, or desired results, before you begin creating that regimen.

Creating an exercise regimen without knowing your outcomes is like planning a vacation with no destination.

Tip #3: Start Small

Doing something small every day will pave the way for creating an exercise regimen.

A common mistake people make when attempting to create an exercise regimen is either to work out nearly every day of the week or to really long and intense exercise sessions. Quite honestly, there’s nothing wrong with either of those pursuits. However, they should probably serve as the end goal rather than a starting point.

It’s better to start small. Aim for ten minutes of exercise twice a week that first week. It might not sound like much, but those small successes will feel like major victories.

Tip #4: Be Consistent

If you haven’t exercised in a while, you’re going to need to discipline yourself. You’ll have to work out when you simply don’t want to.

The keys to success here it to keep it at it until it becomes second nature.

Need Some Help?

Creating an exercise regimen is a lot like creating a healthy habit. By clicking “5 Steps fo Creating a Habit” when you complete the form below, you will be well on your way!

Don’t forget to hop on that scale today and see where you are. If you didn’t lose anything, but you maintained where you were last week…that’s a major win!

Follow Get Fit with Charity on Facebook, Pinterest and Instagram!

6-Minute Gliding Disk Work Out #1

This video is actually the second of a five-part series. However, it is my first 6-minute gliding disc workout. It is a Tabata style workout that features 2 Gliding Disk Exercises: Wax On/Wax Off and Gliding Jacks.

One round of Tabata is four minutes long. By adding a short warm-up and a quick cool down, we get a six-minute workout that will jumpstart your metabolism today…especially if you do the workout first thing in the morning.

This is a tough workout, but it’s a quick one.

Featured Exercises

Wax On/Wax Off

  • Start in a straight arm plank position with weight evenly distributed
  • Keep gliding disks under your hands
  • Transfer weight to left hand and both feet
  • Draw a circle on the floor with the right hand
  • Return to starting position
  • Options:
    • Stay on one side to complete continuous reps
    • Alternate arms*
    • Rest on knees instead of remaining on your feet

Gliding Jacks

  • Start in a straight arm plank position with weight evenly distributed
  • Keep gliding disks under your feet
  • Slide right hand out to the side
  • Slide right hand back to the starting position
  • Options:
    • Stay on one side to complete continuous reps
    • Alternate legs
    • Move both legs out and in at the same time*

Next Week

I’ll feature two more gliding disk exercises in another six-minute workout.

Follow Get Fit with Charity on Facebook, Pinterest and Instagram!

Finding Time for Fitness

5 Tips for Finding Time for Fitness

Busy, busy, busy! Our days are jam-packed with meetings, appointments, and responsibilities. Finding time for fitness is virtually impossible.

We’re so concerned with everyone else that we don’t really look out for ourselves. In fact, we may have every intention of getting in a quick workout. But that intention does nothing but remain an intention.

There are those who have no problem setting aside a specific amount of time for exercise every day. Then there are those who sacrifice their work out to meet the needs of others.

If you’re having a little trouble finding time to workout, I hope you find these tips helpful.

Tip #1: Use Your Lunch Break

Regardless of where you work, you get some type of lunch break. If you’re a teacher or you work in an office, chances are you might have a tendency to work through your lunch. If you’re a stay at home mom or homeschooling parent, your lunch may be surrounded by little ones of a place of solitude. If you work from home, you might forget to take time for your lunch, but we’ll address that another day.

However, you can sneak 15 to 30 minutes of fitness into your day by splitting your lunch break in half. Take the first half to work out. Take a brisk walk around the building (or outside, if the weather permits). Find a quiet space to do some yoga or pilates. Do a couple of my six minutes workouts.

It doesn’t really matter what you do, just get moving for half of your lunch break, then eat a light, sensible lunch before heading back to work.

Tip #2: Have a Walking Meeting

We sit down A LOT when we’re at work.

Instead of sitting in the conference room or the classroom when it’s time for your team meeting, why not take it outside and have a moving meeting.

Research indicates that exercise stimulates your mind, so you may come up with solutions to a couple of problems while you’re moving. Plus getting as little as thirty minutes of daylight can help improve your sleep.

Tip #3: Skip the Elevator

Taking the stairs is one way to add a little more fitness into your day.

Waiting for the elevator – and the subsequent ride to your floor – wastes some really awesome calorie-burning time.

By simply taking the stairs instead of riding that elevator, there’s no telling how many extra calories you can burn each day. You can even incorporate some strength building by taking the stairs two or three at a time. Doing so is very similar to doing a set of lunges.

If you work in a high-rise office building, it might not be feasible for you to take the stairs the whole way. Consider taking the elevator a portion of the way and walking the rest of the way.

Tip #4: Skip the Email

It is so easy to shoot an email to a colleague while you’re sitting there working on a project.

However, walking from your workspace to their workspace does two things: 1) It allows you to get a little more exercise into your day. 2) It helps build a relationship by adding human interaction.

Tip #5: Take the Scenic Route

Another way to sneak some fitness into your day is to go out of your way to complete daily tasks.

Walk to the restroom that’s on a different floor or section of the building instead of the one that’s really close to your workspace. Park in the space that farthest away from the door. Take the long way back fo your desk after a break. Do everything you can to sneak a little more fitness into your day.

Don’t forget to hop on that scale today and see where you are. If you didn’t lose anything, but you maintained where you were last week…that’s a major win!

Follow Get Fit with Charity on Facebook, Pinterest and Instagram!

Eight Gliding Disk Exercises

Eight Gliding Disk Exercises

In my last video, which was posted AGES ago, I told you about the five things you absolutely must-have in your home gym…which is simply the place where you get fit at home. Today I’m going to talk about 8 gliding disk exercises that you can do at home.

There are two upper body exercises, three lower body exercises, and three core exercises. Even though we’re will target specific body regions, so to speak, you will be able to feel all of these exercises in your core. For that reason, it is very important for you to keep your core engage while you are performing these. In order words, suck in your gut like you’re trying to get your belly button to meet your spine.

This video is actually first in a five-part series, so let’s get to those exercises. The asterisk (*) in the options indicates the option featured in the video.

Upper Body Exercises

Wax On/Wax Off

  • Start in a straight arm plank position with weight evenly distributed
  • Keep gliding disks under your hands
  • Transfer weight to left hand and both feet
  • Draw a circle on the floor with the right hand
  • Return to starting position
  • Options:
    • Stay on one side to complete continuous reps
    • Alternate arms*
    • Rest on knees instead of remaining on your feet

Plank Push-up

  • Start in a straight arm plank position with weight evenly distributed
  • Keep gliding disks under your hands
  • Slide right hand out to the side while performing the down phase of a push-up
  • Slide right hand back to the center while performing the up phase of a push-up
  • Return to starting position
  • Options:
    • Stay on one side to complete continuous reps
    • Alternate arms*
    • Rest on knees instead of remaining on your feet

Lower Body Exercises

Gliding Jacks

  • Start in a straight arm plank position with weight evenly distributed
  • Keep gliding disks under your feet
  • Slide right hand out to the side
  • Slide right hand back to the starting position
  • Options:
    • Stay on one side to complete continuous reps
    • Alternate legs
    • Move both legs out and in at the same time*

Knee Tucks

  • Start in a straight arm plank position with weight evenly distributed
  • Keep gliding disks under your feet
  • Bend both knees simultaneously and slide them toward your chest
  • Return to starting position
  • Options:
    • Slide knees to the center toward the chest*
    • Alternate knees to right elbow then left after returning to starting position
    • Slide knees to the right-start, center-start, left-start, center-start, and repeat

Mountain Climbers

  • Start in a straight arm plank position with weight evenly distributed
  • Keep gliding disks under your feet
  • Bend your knees and slide them toward your chest and back one at a time
  • Options:
    • Slide knees to the center toward the chest one at a time*
    • Slide R knee to L elbow then L knee to R elbow

Core Exercises

Up/Down Plank

  • Start in a straight arm plank position with weight evenly distributed
  • Keep gliding disks under your feet
  • Bend right arm and left arm to lower into elbow plank
  • Straighten arms to return to straight arm plank
  • Options:
    • Start in elbow plank and transition to straight arm plank
    • Start in straight arm plank and transition to elbow plank*
    • Perform a push-up while in straight arm plank, then transition to elbow plank

Inchworm

  • Start in a straight arm plank position with weight evenly distributed
  • Keep gliding disks under your feet
  • Keep your legs straight and slide your feet as close to your hands as possible
  • Walk your hands out to the starting position
  • Repeat
  • Options:
    • Slide legs forward and slide legs back
    • Walk hands toward feet and slide legs back
    • Slide legs forward and walk hands out*

Sliding Side Crunch

  • Sit in a “mermaid” pose with right leg in front
  • Extend right arm to the floor with a gliding disk under your hand
  • Slide to the right, maintaining your balance
  • Return to starting position
  • Switch to the left side

The Next Steps

In the coming weeks, I will post four different Tabata style workouts based on these exercises.

Follow Get Fit with Charity on Facebook, Pinterest and Instagram!

Reasons to Get Fit at Home

4 Reasons to Get Fit at Home

We’re one week into the new year! If you drive past any gym or fitness facility, there’s one thought that probably crosses your mind…”There’s a TON of people in there!!!” A lot of people resolve to lose weight or to get fit when January rolls around. But losing weight and getting fit are among the top 10 resolutions that are broken.

Why? Mainly because people who haven’t been to the gym in a long time decide to go several times a week. Unfortunately, some don’t really know what they’re doing. Others become intimidated. In both cases, they stop going.

There’s nothing wrong with a gym membership. In fact, if you have the money, like working out in the company of others, enjoy the variety of fitness classes that are offered, and have the opportunity (and discipline) to go on a regular basis then a gym membership is perfect for you.

However, if you’re pretty much starting at the beginning, here are four reasons you may want to get fit at home.

Convenience

Getting fit at home gives you the opportunity to exercise when you want.

Most fitness facilities aren’t open 24 hours. Even when there’s a gym that is open for 24 hours, you typically can’t access all areas and programs whenever you want.

When you get fit at home, you can work out at a time that works best for you.

Comfort

Sometimes working out in public is a little unnerving. You may get the sense that people are watching you and judging you.

Truthfully, they’re probably not paying attention to you. People go to the gym to work out, but that still doesn’t stop you from feeling as though the eyes of others are upon you.

Getting fit at home eliminates those feelings of discomfort because you can more than likely arrange things so that you are working out alone – without an audience.

You can get fit at home!

Privacy

Fitness centers are definitely not private.

You could bump into virtually anyone at the gym. Your kid’s teacher. That weird person you dated once. The neighbor you’d rather avoid.

Getting fit at home preserves your privacy because no one knows that you’re exercising except for you.

Affordability

Gym memberships cost money. There are some places that have a sliding scale, so you can pay what you can afford. But you still have to pay. Some people can budget for that. Others don’t have money to spare.

Getting fit a home helps you save money while working on that new healthy habit.

Don’t forget to hop on that scale today and see where you are. If you didn’t lose anything, but you maintained where you were last week…that’s a major win!

Follow Get Fit with Charity on Facebook, Pinterest and Instagram!

Five Must-Haves for Your “Home Gym”

Welcome to the first video blog for Get Fit with Charity! I’m Charity, and before I get too far ahead, I want to sincerely thank you for joining me on this fitness journey! As you probably know, my goal is to show you how to get fit in the comfort of your home without using a lot of equipment. In the future, video blogs will consist of me either showing you bodyweight exercises or leading you through Tabata workouts. Today’s vlog, will be more informative as I talk about five things you simply must have for your home gym.

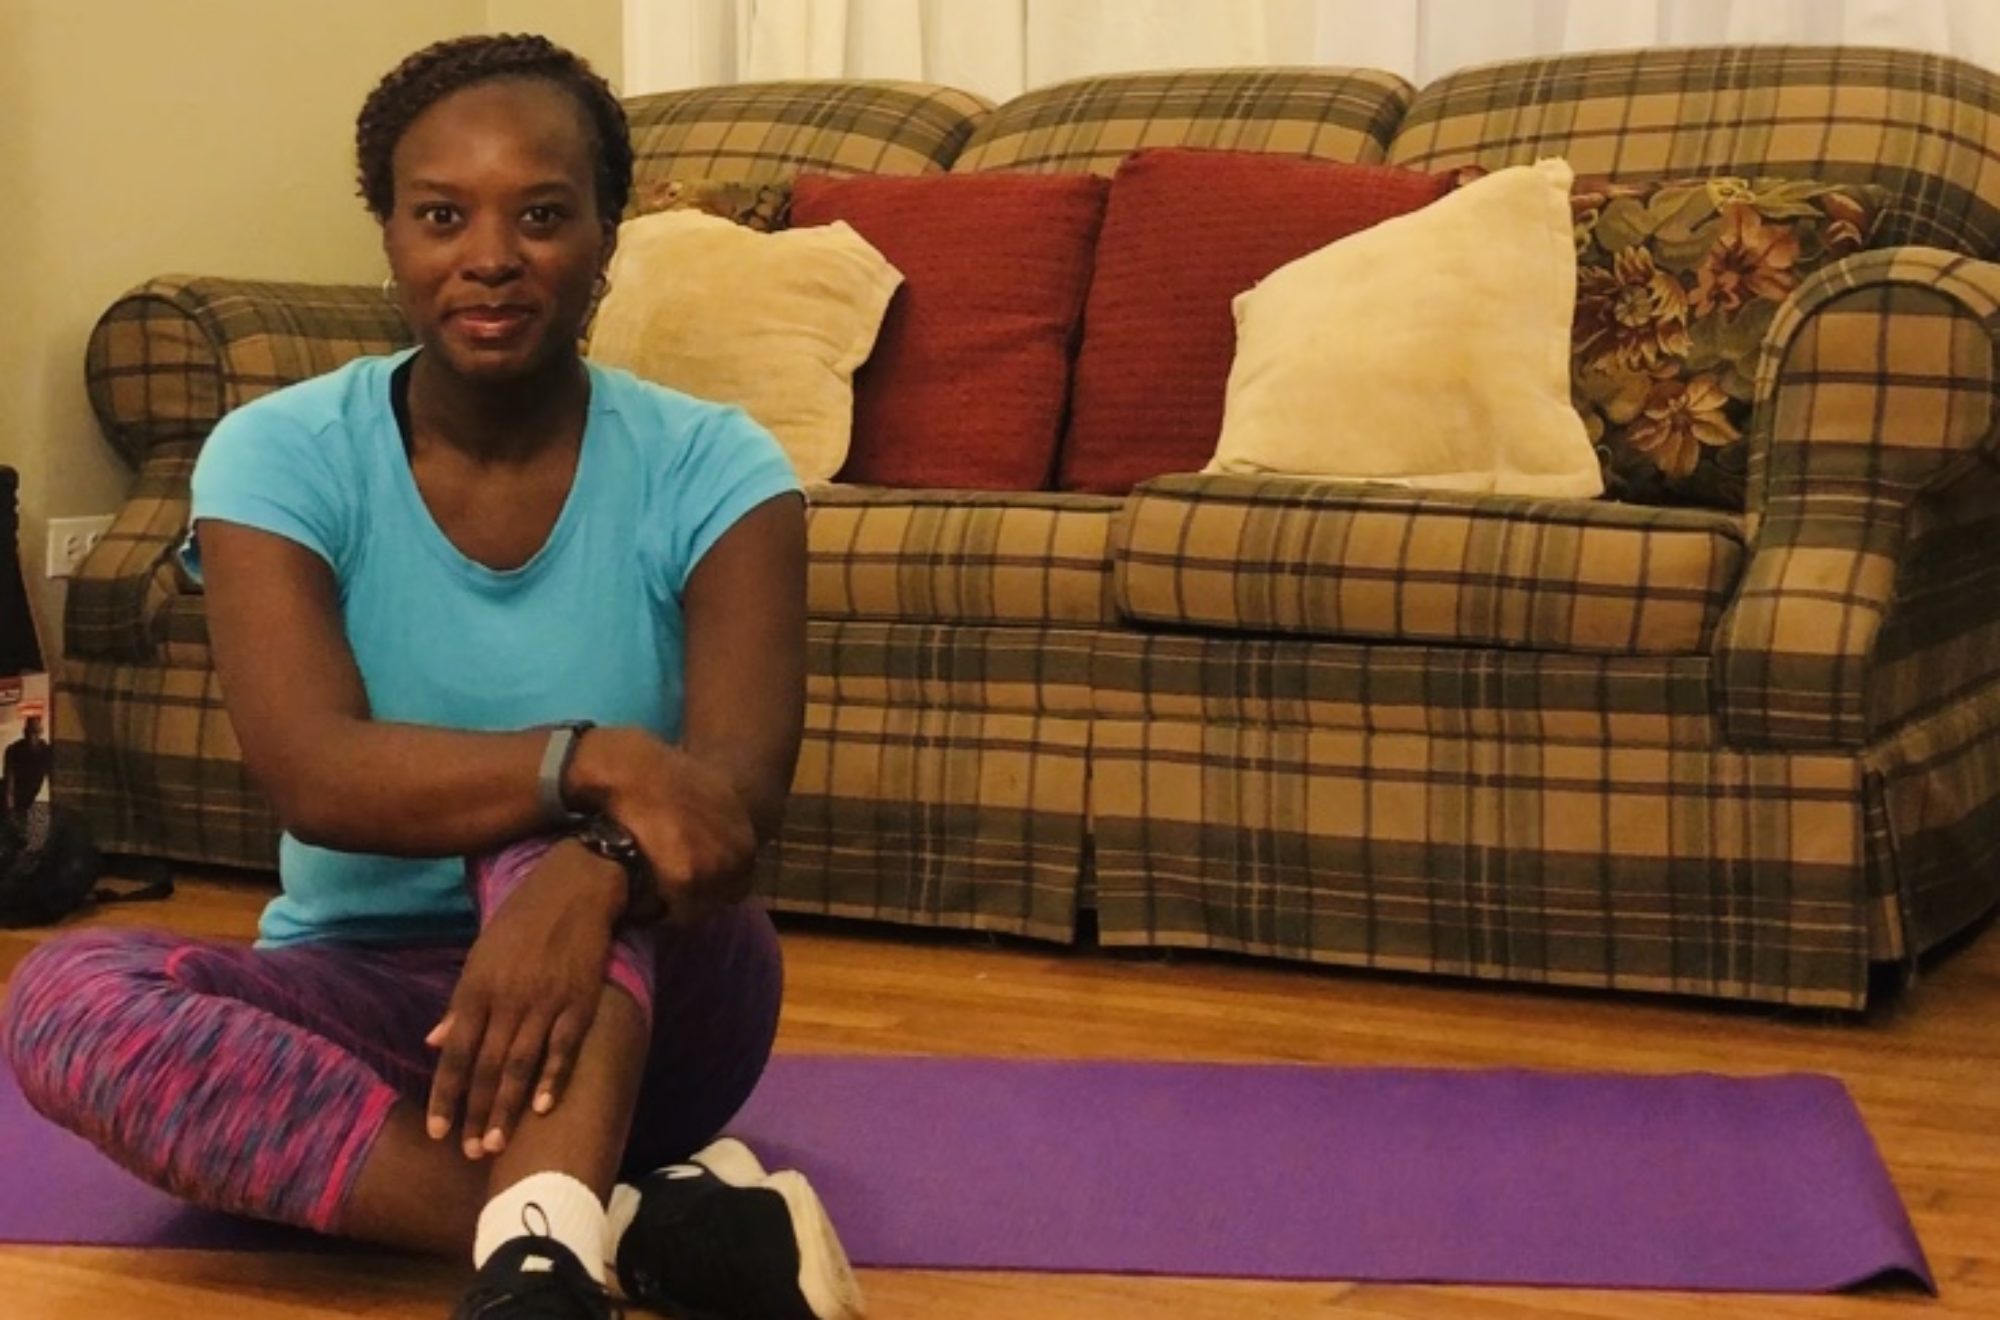
You can see that I’m sitting in my “home gym”, which doubles as my living room. Your “home gym” doesn’t have to be your living room. It can be your basement, your den, your guest bedroom, your garage, or any other space in your home that is large enough for you to workout and do jumping jacks, lunges, squats and a variety of other bodyweight exercises.

As we’re getting ready to start working out together…in our respective homes, of course…there are five items you simply must have either for the sake of comfort or in order to add resistance or help intensify your workout.

Yoga Mat

The first item that you’ll need is a yoga mat. This will serve as a cushion if you’re on a hard surface, and it will protect you from rug burns if you’re working out on a carpeted surface.

Water Bottle

Second, you’ll want a water bottle. Although most of our workouts will be about six-minutes, there will be times when you break a sweat. It’ll be a good idea for you to have a water bottle handy, so you can stay hydrated.

Towel

This third item will be really useful if you do sweating; it’s a towel. You don’t need anything large, but you may want something to make sure you not dripping on your mat or the floor.

Figure 8 Tubing

The fourth thing you’ll need is a little piece of equipment that provides an awesome alternative to weight. It’s called Figure 8 tubing, and it can be used to add resistance to both upper body and lower body exercises.

Gliding Disks/Core Sliders

The fifth and final item that you’ll need is easily my most favorite piece of equipment because of its versatility. These gliding disks can be used for upper body, lower body, and core exercises. In fact, the majority of the exercises that you do with gliding disks will require you to engage your core. You can purchase gliding disks to use on hard surfaces or carpeted surfaces. I would actually recommend double-sided gliding disks, like these because you can use flip them over depending on what surface you’ll be using. If you have a slab in your basement but decide to work out in your carpeted den one day, you’re totally set.

Where Can You Find The Stuff?

I didn’t want you scouring the internet trying to find all of these things, so I’ve added some items from Amazon to help you stock up your home gym ASAP.

The Next Steps

Stay tuned for some new workout videos on YouTube. I will show you some of my favorite bodyweight exercises using both the Figure 8 Tubing and the gliding disks. Then I’ll take you through a couple of Tabata workouts geared specifically to each item.

Click to join “The REAL Get Fit With Charity” Facebook Group!

%d bloggers like this: